Monday, September 24, 2018

9/24/18

Hello Crafty Friends,

September is almost over and this month has been all about the Los Angeles County Fair.  I always have a great time demoing in the DIY Studio every weekend.  I get to work on projects and share my passion for paper crafting.

The highlight of the fair though is seeing how I placed on my entries.

So, today is the beginning of 5 part blog post.  I will be sharing my projects as well as how I did on them at the fair.

First up is a picture of my layout and the first place ribbon I received.


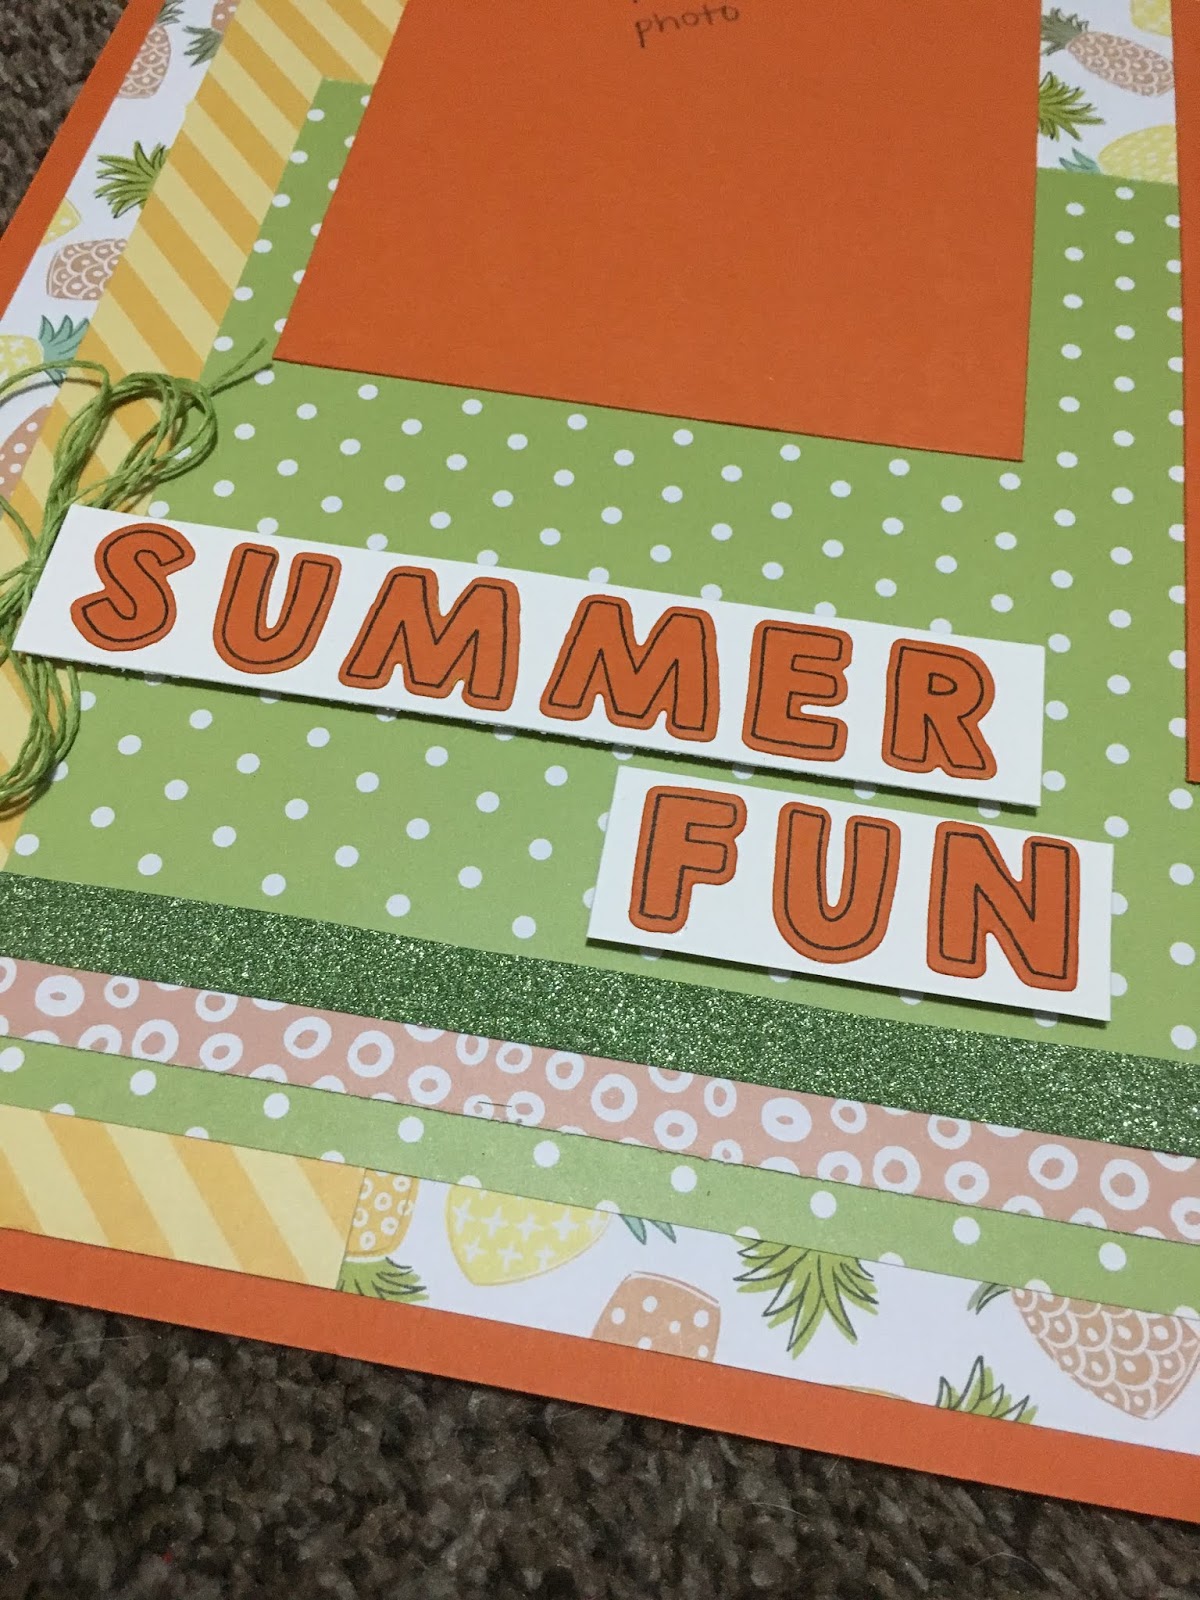
Here is more detailed picture of the layout.


This layout was fun to make.  I cut the motorcycle out with my Cricut, as well as the title.  I added some twine to the side of the layout and buttons to the motorcycle wheels.

Come back on Wednesday for another fair entry and ribbon.

Saturday, September 22, 2018

9/22/18

Hello Crafty Friends,

The day has come!  The first official day of Fall!  I am so happy.  If only the weather here in Southern California would cool down!  We are expected to have temperatures in the high 80's and low 90's today.  Not fall weather at all.

Maybe if I share a new fall card, it will get cooler?  I can dream!

Here is the card I want to share with you today.


This card was so fun to create.  I first stamped the background, Flannel Life, with Hazelnut Blend ink on Oatmeal Cookie Cardstock.  I ripped the top and bottom and then tied a Whip Cream Thread bow around the card.
I added the strip of Corrugated Paper to the card.  I then used that same Corrugated Paper and die cut the Coffee cup sleeve, as well as the cup and lid. 
I stamped the sentiment from the Coffee Helps onto the piece of Whip Cream Cardstock and added to the card using the little paper clip.

Now, with pumpkin spice and the first official day of Fall, I feel like Fall is finally here.

Supplies Used:
Stamp: Coffee Helps
Paper: Tangerine Fusion Cardstock, Oatmeal Cookie Cardstock, Whip Cream Cardstock, Corrugated Paper
Ink: Hazelnut Blend
Dies: Coffee First
Accessories: Whip Cream Thread, Tangerine Fusion Gingham Ribbon, Paper Clip Elements

Thursday, September 20, 2018

9/20/18

Hello Crafty Friends,

Can you feel it in the air?  The weather is getting cooler!  Fall is going to be her very soon.  I have a card today to get us more in the fall mood.


I created the base of the card by placing a strip of cardstock across the Whip Cream Cardstock base.  I then stamped the three different leaves with the three different colors across the bottom and top of the strip.
I then splattered Bronze and Dark Roast silk on the card.  After this was done, I removed the piece of cardstock.
To finish the card, I stamped the word Fall from the Harvest Wreath set with Cocoa Powder ink and die cut with the matching die set.  I stamped the leaf with Cocoa Powder ink, fussy cut it out and added to the tied Natural Twine bow.
I hope I have inspired you.

Supplies Used:
Stamp: Autumn Days, Harvest Wreath
Paper: Summer Days Cardstock, Whip Cream Cardstock
Ink: Citrus Cooler, Cocoa Powder, Cranberry Bliss, Oatmeal Cookie
Dies: Harvest Wreath
Silk: Dark Roast, Bronze
Accessories: Journey Natural Twine

Tuesday, September 18, 2018

9/18/18

Hello Crafty Friends,

I think we are finally seeing the end of summer.  I can't wait to see more cooler weather, but we are so close.

I created an End of the Summer Scrapbook Layout to celebrate the end of the season.


Here is a closer look at the title.


I created the title by stamping and cutting out the letters with the  Outline Bet stamp and die set.  I then glued them onto a piece of Whip Cream Cardstock strip.

In the other corner, I placed the pineapples.  Here is a closer look at the pineapples.


I created the big pineapple by cutting an oval with Journey Ovals and embossing the piece with the Layered Scallop Embossing folder.  I then took the Hazelnut Blend stamp pad and rubbed it over the top.  To create the top of the pineapple, I cut the grass border from Border Details and Lemon Grass Cardstock. 

The small pineapples are from the Tropic-Cool stamp set.  I stamped them with Black Licorice ink on Whip Cream Cardstock.  I colored them with Color Burst Pencils.  I then added Journey Glaze to the glasses. 

I hope you have found some inspiration. 


Supplies Used:
Stamp: Tropic-Cool, Outline Bet
Paper: Tangerine Fusion Cardstock, Whip Cream Cardstock, Pineapple Smoothie Cardstock, Lemon Grass Cardstock, Playful Prints
Ink: Black Licorice, Hazelnut Blend
Dies: Outline Bet, Journey Ovals, Border Details
Embossing Folder:  Layered Scallop
Accessories: Fresh Limeade Journey Tape, Lemon Grass Thread, Journey Glaze
Colored with Color Burst Pencils

Sunday, September 16, 2018

9/16/18

Hello Crafty Friends,

Where did the week go?  It seems like it was just Wednesday and now it is Sunday and it is almost time to get ready for another week.

I haven't had much time to craft this weekend because I have classes I am attending this weekend, but I still want share a project I created earlier this week.

My goal this month is to finish my 2010 album.  Here is a layout I created for a field trip to the Santa Ana Zoo I took with my Kindergarten class.

I like simple and clean layouts.   I hope you are inspired to create your own layouts or take up scrapbooking.

Wednesday, September 12, 2018

9/12/18

Hello Crafty Friends,

Today I want to share with you a banner I created using the "Down on the Farm" Doodlebug paper pack.   I loved this paper and knew it would make a cute banner.  It is a good time for this banner since I spend the month of September at the LA County Fair.


Here is a closer look of one of the pieces:


I distressed the letters with Black ink to make them stand out.


Each of the pieces includes a barn.  I cut these from the County Life Cricut Cartridge.


After I tied the pieces together with brown tulle, I then added a few pieces of raffia to look like hay.

I hope you have been inspired to create a cute banner today.

Monday, September 10, 2018

9/10/18

Hello Crafty Friends,

Today I want to share with you a birthday card I created for a kayaking friend.


The background is created using Beach Ball Ink and a dauber.  I used the dauber in circular motion across the sides of the card base and moved into the middle.  This is how I got the shading.

A fun masculine card, which is a topic we all have trouble making.

Supplies Used:
Stamp:  Adventure Awaits,
Paper: Beach Ball Cardstock, Black Licorice Cardstock, Butter Cream Cardstock, Whip Cream Cardstock
Ink: Dark Roast, Beach Ball
Dies:  Hexi Strip, Journey Circles
Colored with Color Burst Pencils